Setting up Sentry on Your Server with Docker
REMARK: Sentry now has a docker-compose to use https://github.com/getsentry/onpremise
If you want to use Sentry on your server with your custom domain then it is quite easy. Main setup will have:
- nginx for reverse proxy: requests coming to sentry.my_domain.com will be redirected to sentry application runnning in docker.
- docker for deploying sentry
- ubuntu 18.04 or 16.04 server (mine was 18:04 from https://www.hetzner.com/cloud but DigitalOcean or Vultr all works).
- a domain or possibly subdomain which is already redirecting to our server ip. can check details from https://lmgtfy.com/?q=redirect+subdomain+to+ip+address
- letsencrypt for ssl
On Ubuntu 18:04 server, start with installing docker (can skip if you’ve installed):
$ sudo apt update
$ sudo apt install apt-transport-https ca-certificates curl software-properties-common
$ curl -fsSL https://download.docker.com/linux/ubuntu/gpg | sudo apt-key add -
$ sudo add-apt-repository "deb [arch=amd64] https://download.docker.com/linux/ubuntu bionic stable"
$ sudo apt update
$ sudo apt install docker-ce
Install nginx
$ sudo apt install nginxLetsencyrpt for SSL (When certbot asks for nginx settings it doesn’t matter if you choose 1 or 2. We will update the nginx setting files afterwards):
$ sudo add-apt-repository ppa:certbot/certbot
$ sudo apt install python-certbot-nginx
$ sudo certbot --nginx -d sentry.your_domain.com
Before moving forward be aware docker messes with the iptables and makes using ufw tricky. What does this mean? Simply when you use docker and expose a port to the server (can be used for any reason) docker doesn’t care about ufw. Therefore make sure you are not exposing the port globally but only localhost.
$ ufw allow https
$ ufw allow ssh
$ ufw allow http
Restart docker and ufw (allow ssh-http-https as shown above).
$ sudo service docker restart
$ sudo ufw reload
Setup sentry using docker in these order. Migrating take some time.
   $ docker run -d --name sentry-redis redis
   $ docker run -d --name sentry-postgres -e POSTGRES_PASSWORD=your_postgres_password -e POSTGRES_USER=sentry postgres
   $ docker run --rm sentry config generate-secret-key
keep the generated secret_key to use in the next steps.
   $ docker run -it --rm -e SENTRY_SECRET_KEY='generated_key_from_above' --link sentry-postgres:postgres --link sentry-redis:redis sentry upgrade

   $ docker run -d -p 127.0.0.1:9000:9000 --name custom-sentry -e SENTRY_SECRET_KEY='generated_key_from_above' --link sentry-redis:redis --link sentry-postgres:postgres sentry

   $ docker run -d -p 127.0.0.1:9000:9000 --name custom-sentry -e SENTRY_SECRET_KEY='generated_key_from_above' -e SENTRY_SINGLE_ORGANIZATION=false -e SENTRY_USE_SSL=0 --link sentry-redis:redis --link sentry-postgres:postgres sentry

   $ docker run -d --name sentry-cron -e SENTRY_SECRET_KEY='generated_key_from_above' --link sentry-postgres:postgres --link sentry-redis:redis sentry run cron

   $ docker run -d --name sentry-worker-1 -e SENTRY_SECRET_KEY='generated_key_from_above' --link sentry-postgres:postgres --link sentry-redis:redis sentry run worker
If you were not asked for the superuser while upgrading database then create a new one:
$ docker run -it --rm -e SENTRY_SECRET_KEY='generated_key_from_above' --link sentry-redis:redis --link sentry-postgres:postgres sentry createuserGo to $ cd /etc/nginx/sites-enabled/ and remove the default setting file if its there with $ rm default. Add the nginx file to that folder with any name. $ nano sentry
 server {
    listen   80;
    server_name sentry.your_domain.com;
    set_real_ip_from 127.0.0.1;
    set_real_ip_from 10.0.0.0/8;
    real_ip_header X-Forwarded-For;
    real_ip_recursive on;
    root /var/www/html;
    location ~ /.well-known {
        allow all;
    }


    location / {
      if ($request_method = GET) {
        rewrite  ^ https://$host$request_uri? permanent;
      }
      return 405;
    }
  }

  server {
    listen   443 ssl;
    server_name sentry.your_domain.com;

    proxy_set_header   Host                 $http_host;
    proxy_set_header   X-Forwarded-Proto    $scheme;
    proxy_set_header   X-Forwarded-For      $remote_addr;
    proxy_redirect     off;

    # SSL configuration -- change these certs to match yours
    ssl_certificate /etc/letsencrypt/live/sentry.your_domain.com/fullchain.pem;
    ssl_certificate_key /etc/letsencrypt/live/sentry.your_domain.com/privkey.pem;

    # NOTE: These settings may not be the most-current recommended
    # defaults
    ssl_protocols TLSv1 TLSv1.1 TLSv1.2;
    ssl_ciphers ECDH+AESGCM:DH+AESGCM:ECDH+AES256:DH+AES256:ECDH+AES128:DH+AES:ECDH+3DES:DH+3DES:RSA+AESGCM:RSA+AES:RSA+3DES:!aNULL:!MD5:!DSS;
    ssl_prefer_server_ciphers on;
    ssl_session_cache shared:SSL:128m;
    ssl_session_timeout 10m;


    # keepalive + raven.js is a disaster
    keepalive_timeout 0;

    # use very aggressive timeouts
    proxy_read_timeout 10s;
    proxy_send_timeout 10s;
    send_timeout 10s;
    resolver_timeout 10s;
    client_body_timeout 10s;

    # buffer larger messages
    client_max_body_size 5m;
    client_body_buffer_size 100k;

    location / {
      proxy_pass        http://localhost:9000;

      add_header Strict-Transport-Security "max-age=31536000";
    }
  }
Restart nginx or reload the settings $ sudo service nginx restart
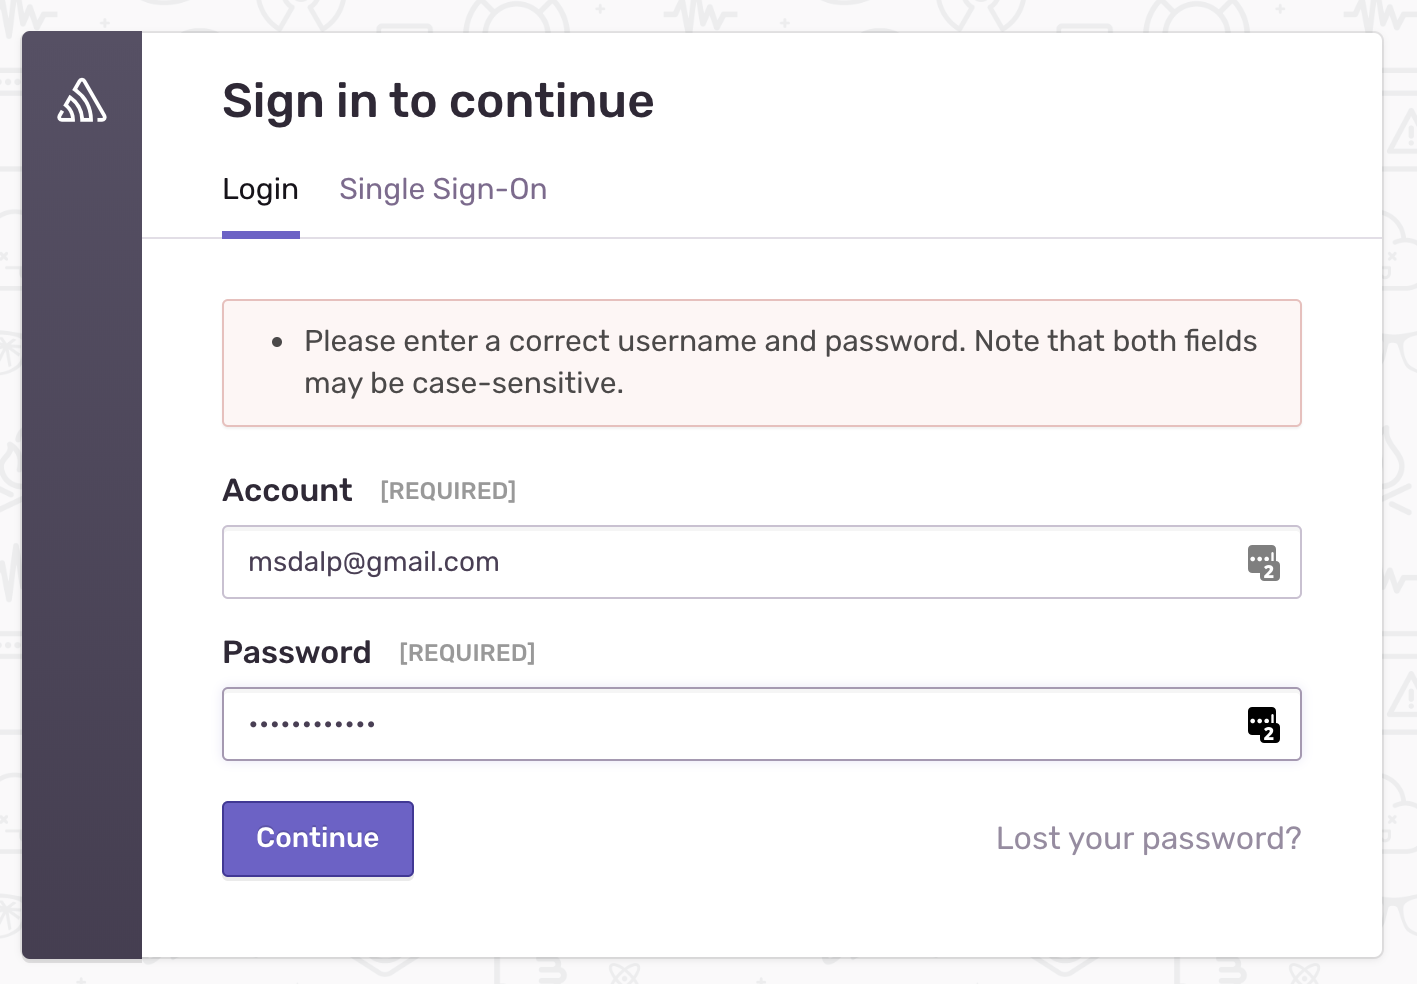
Go to your domain on sentry.your_domain.com and can login there with the user created at the last step.
Fix default url if its wrong.

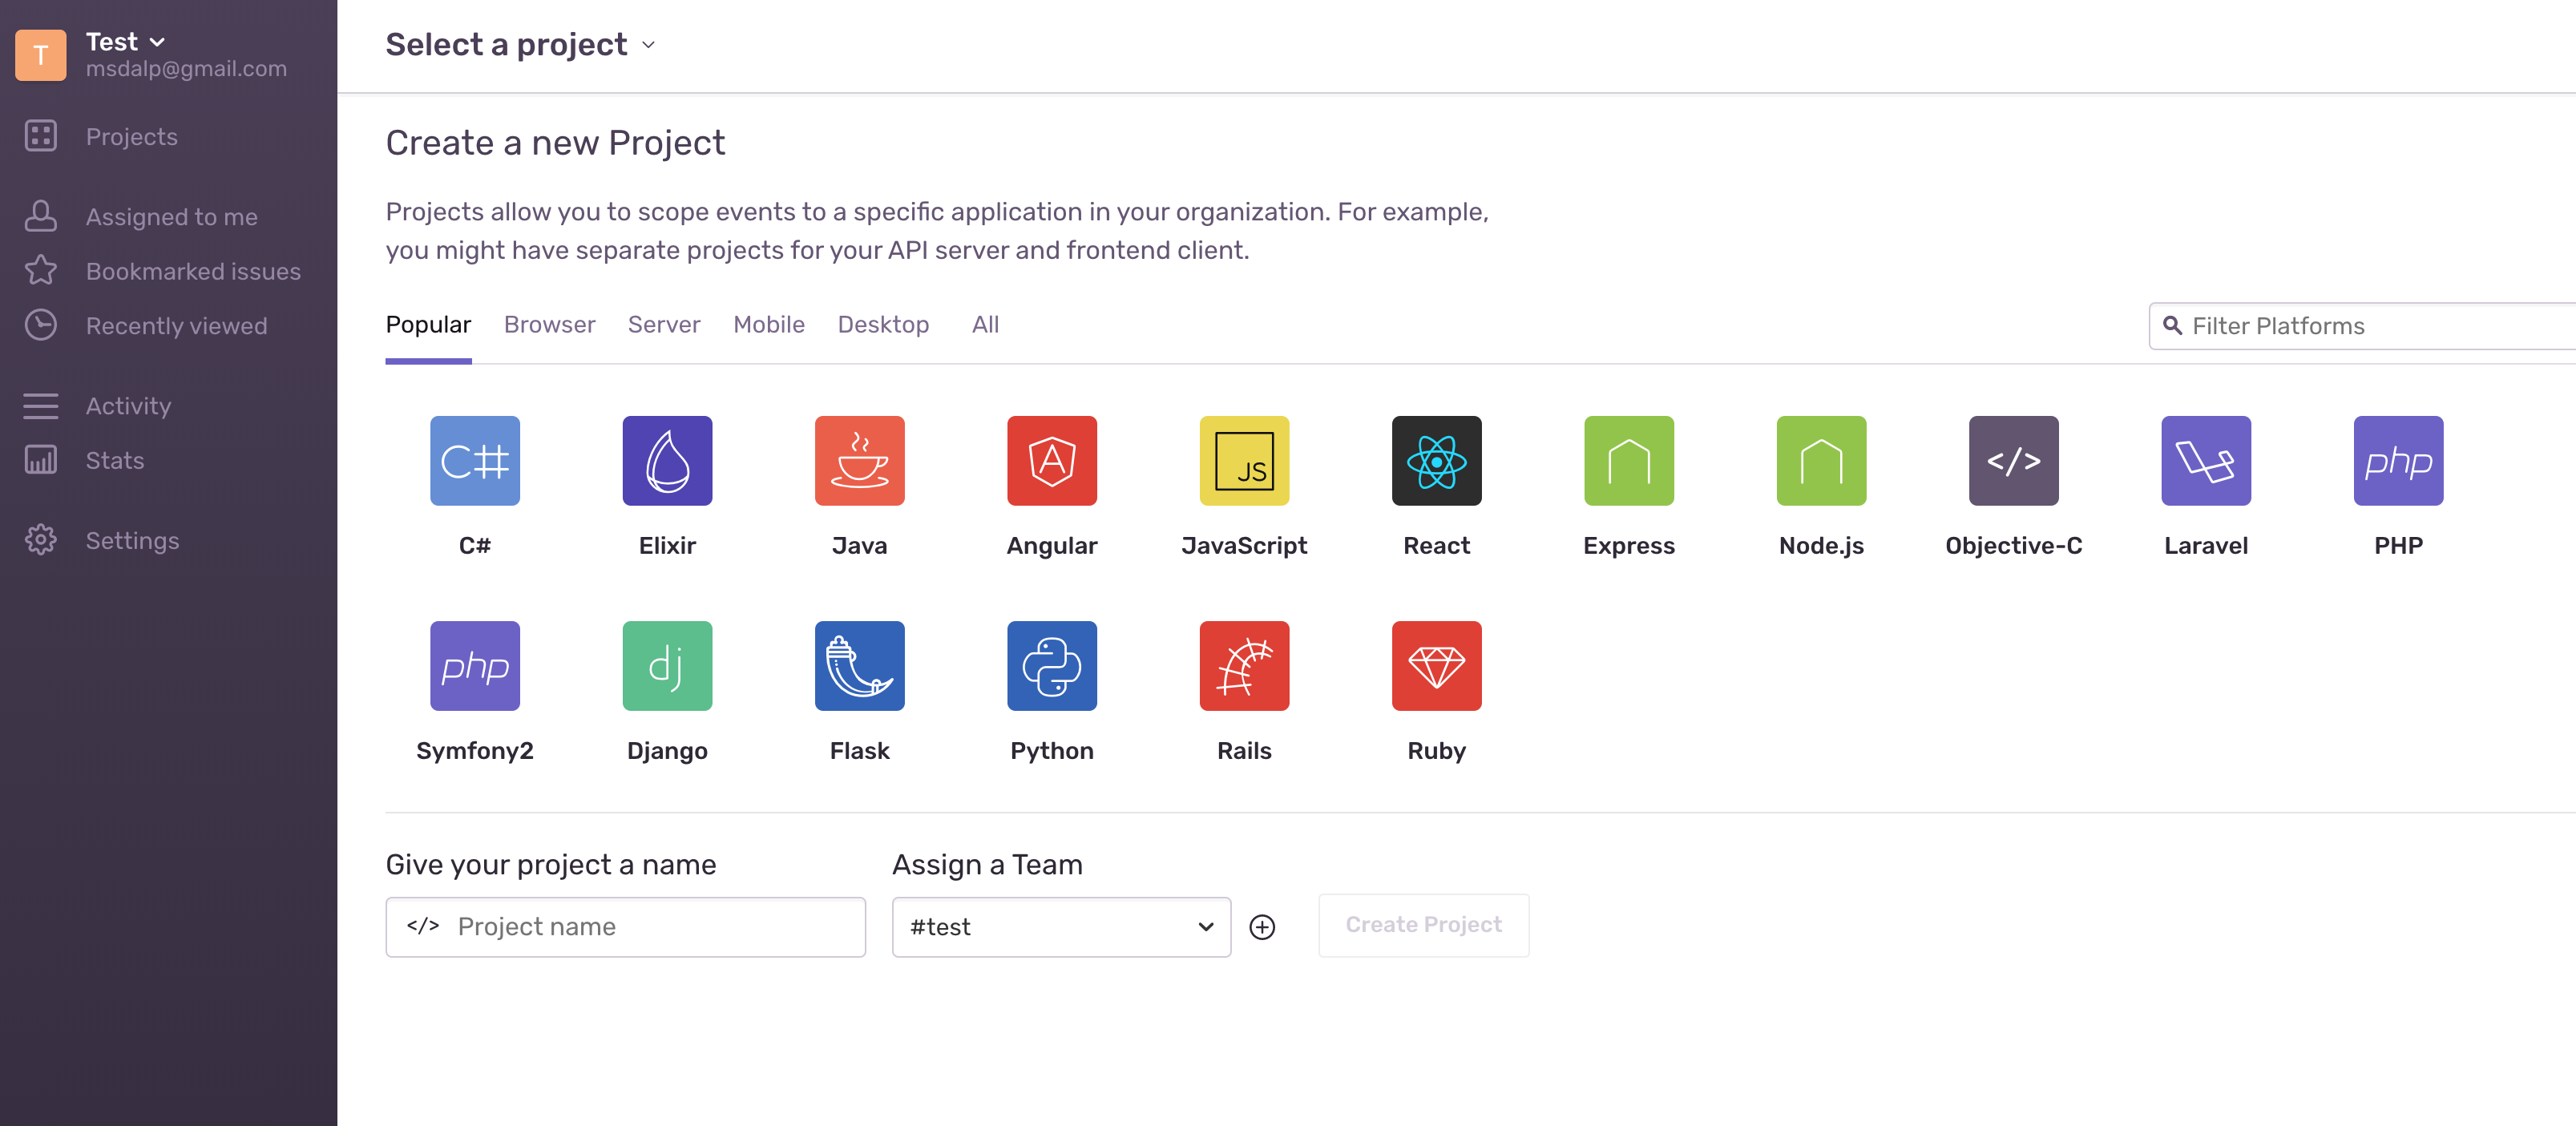
Create a new organization (was Test for me and it will take you to the homepage).